Step one – Framing the rooflight
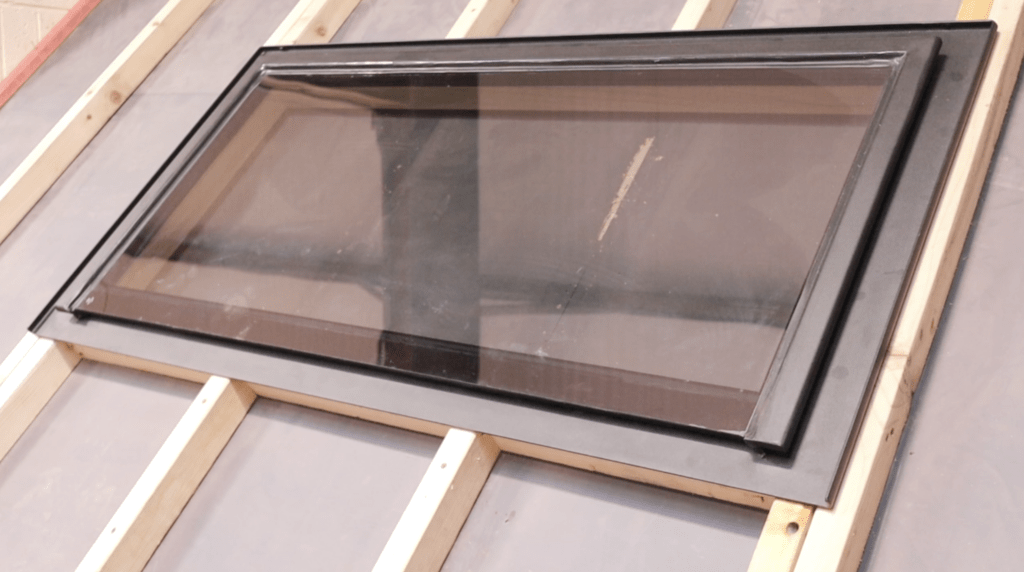
Getting the framing right for your conservation rooflight is important. Twin joists should be installed at the edges of the frame. This acts in two ways; one to create additional support for the rooflight, and secondly, so the battens for the roof are supported. The height of your rooflight frame is important for battening.
Ensure the batten aligns with the weathering blade of the window frame.

Step two – Installing the front tilt and battening
To ensure the tilt is cut to a correct length firstly, measure your front apron. The tilt should be cut with a minimum of 100mm feathering from the depth of the batten to nothing. The overall length of the tilt should be 300mm longer than the aprons width.
Cuts two 150mm pieces off of the end of the tilt. You will need these later in the installation.
The tilt should be installed, allowing a 5mm gap at the front of the frame. This is to allow the lead to pass freely over the tilt.
Install a batten tight against the underside of the tilt. This is to support the head of the slate.
Step three – Battening the sides of the rooflight
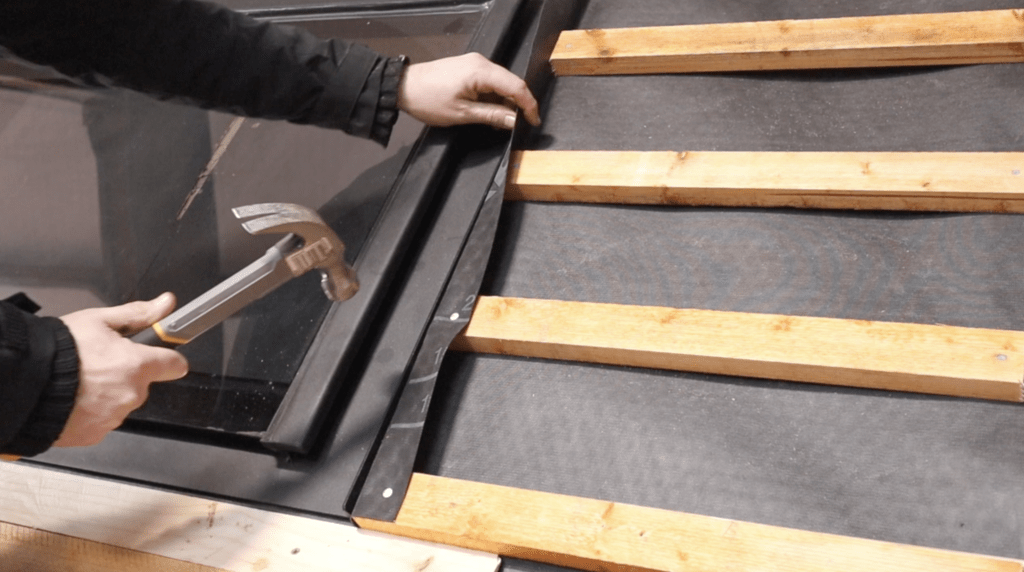
The batten should be installed close to the weathering blade of the window frame. Allow a 5mm gap between the batten and the frame. Turn over the access felt and tack it into the ends of the battens
Finally, install the felts to the back of the window.
Step four – Weathering the top of the rooflight
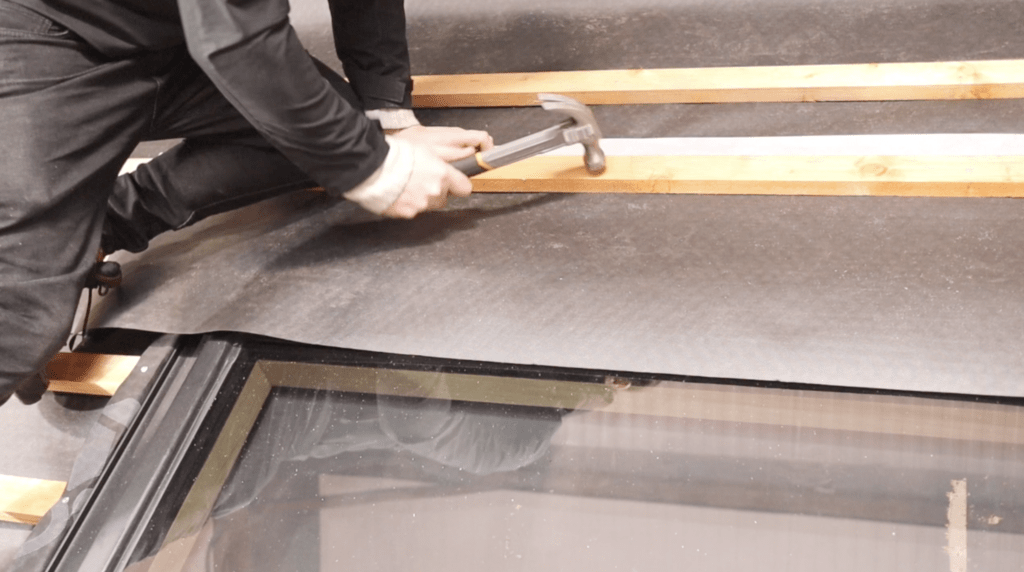
Carefully trim the felt at the rear of the frame, allowing some overhang.
A batten should be installed tight against the top of the frame.
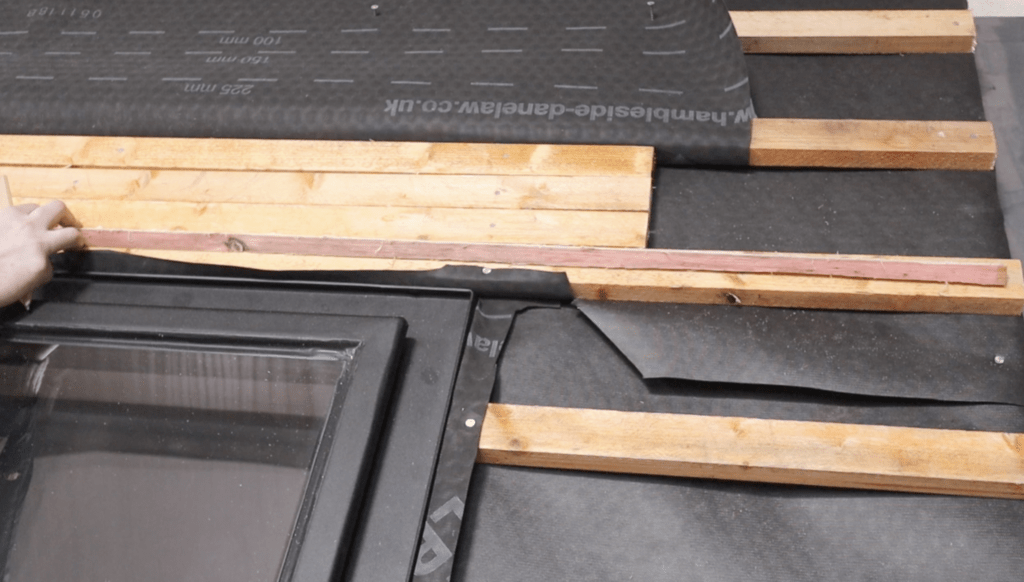
Measure 100mm from the outside of the frame and slice a ‘V’ into the felt. Repeat this process on both sides.
Turn the trimmed felt on top of the batten and nail it in line with the rafters. This will ensure the excess water is dispersed to the sides of the window frame.
A weathering strip is installed at the rear of the window. This is to ensure that water can pass over the rear flashing when installed. In this scenario, a roof membrane tape is used to attach the weathering strip to the existing felt sheet.
The remaining standard roofing batten is installed above the rooflight.
Step five – Installing the top flashing support board
The rear weathering strip is now lifted out of the way. Temporarily lifting this strip allows access to the support board area.
The top lead flashing must have full support underneath it and timber supports must be installed.
Ensure the support boards are cut to match the width of the top flashing.
Now a small tilt should be cut and installed at the lower parts of the support board. The tilt will help to support the tail of the slate or tile being used. Ensure the tilt is trimmed in line with the outside edges of the window frame.
Finally, install the tilt approximately 25mm from the bottom edge of the support board
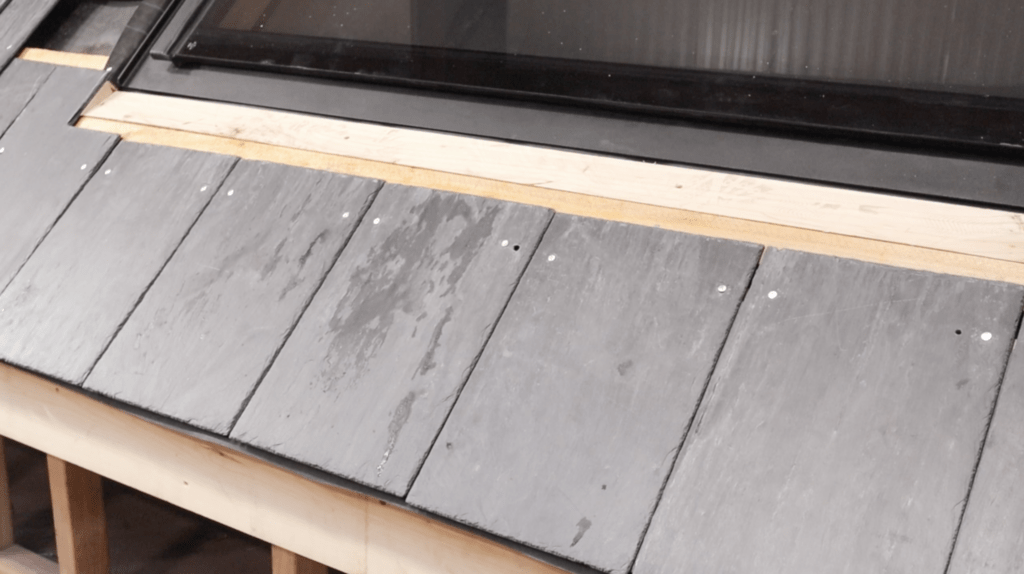
Step six – Slating the bottom of the rooflight ready for the apron
Now the 150mm tilt offcuts are needed. Install the two tail offcuts to the side of the window frame in line with the bottom. The tilt should be in line with the edge of the battening.
Mark your slate in line with the edge of the battening and the tilt at the top.
Now the slate can be marked halfway on the support button.
The slate can now be nailed in place, and you can repeat this process on both sides of the window.
Note that the slate is cut exactly to the edge of the tilt. This will be important for installing the apron later.
Step seven – Installing the tingles and lead apron
Removes the tingles from the lead flashing it. Your tingles should be installed at centres of 450mm. If you need more than the tingles supplied, you are able to trim off the excess from the top flashing, which will give you some additional tangles if needed.
The tingles should be pre drilled and nailed as close to the top of the slate as possible. All the lead items in the flashing kit should be fixed with copper nails.
All the marks and buckles must now be removed from the lead apron. This is a simple process that can be carried out with a lead dresser and a steel square. Use the square to act as a strong edge to dress the lead against, this will help to open out the welt at the back of the apron.
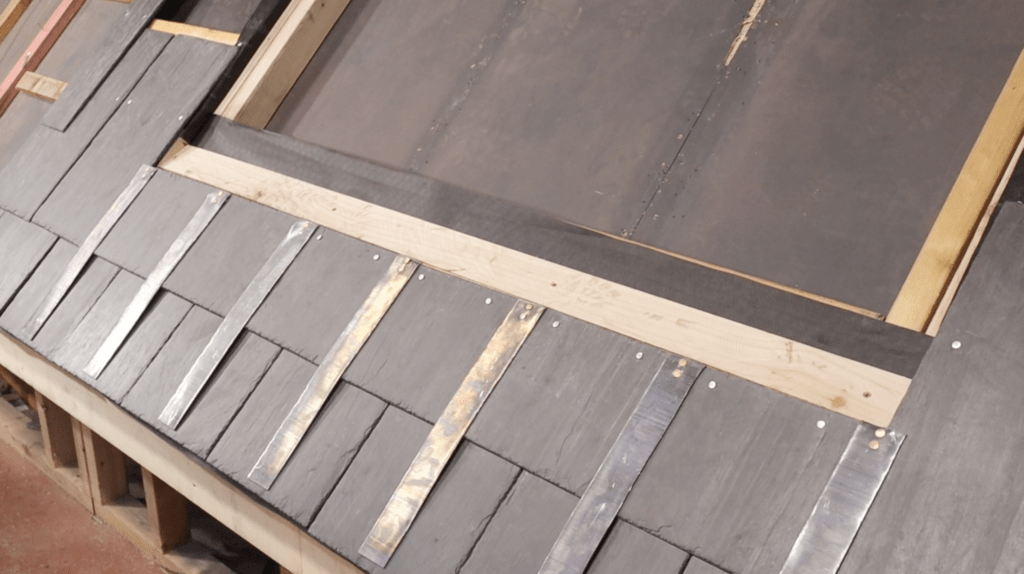
Next, measure the width of the window frame to ensure that the welt that has been cut onto the flashing the correct width.
Draw a square line from the rear of the welt, all the way to the front of the flashing. Using a piece of timber hold it against the line that you have marked ready to form and fold up the lead on a 90 degree angle. You will need to use a lead dresser to tighten up the curve. Repeat this process on both sides of the apron flashing, which is now ready to be installed.
At this stage, the rooflight should be removed from the opening. You will need to do this to install the apron correctly. The top edge of the lead flashing should align with the timber framing of the window opening. Use copper nails to fix the centre third of the flashing, the nails should be spaced at 150mm apart.
Now the wings of the lead apron can be bossed. For this, you will need a bossing stick and a flat dresser, moving the lead in the fanning motion, boss the lead outwards towards the sides of the slate roof.
Finally, a flat dresser can be used to create a nice, even and flat surface for the slate above to sit against.
The lead tingles can now be trimmed. Allow 50mm extending past the bottom of the apron and gently snip off two small corners from each tangle. The tingles can now be turned and dressed flat.
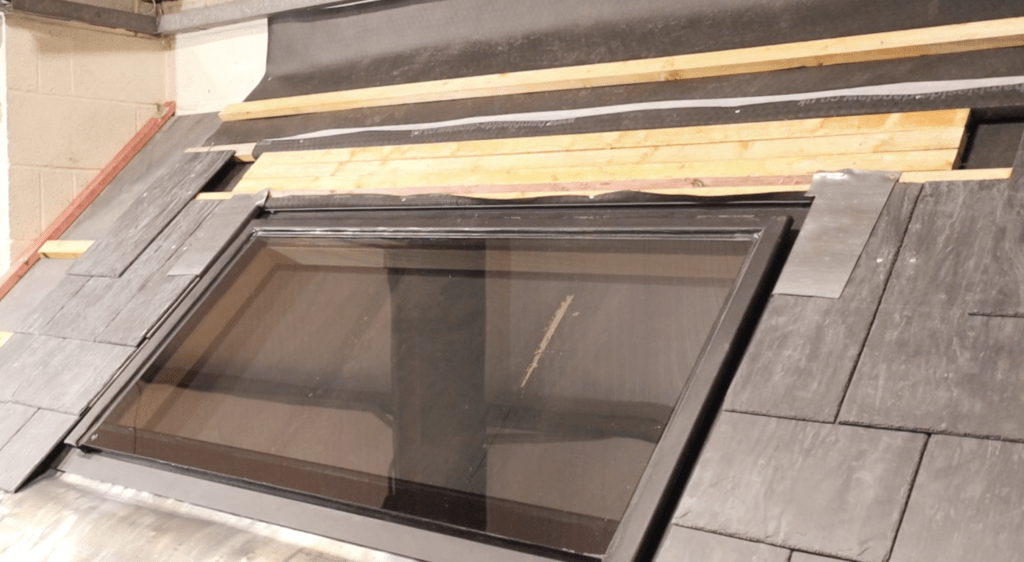
Step eight – Installing the rooflight soakers
Firstly, you will need the two soakers with an angled outer edge. The soaker marked ‘first soaker’ must be installed on the right hand side of the window.
Trim the soaker so it sits flush against the slates and so that the folded edge of the soaker sits neatly against the weather channel of the rooflights.
A helpful method for keeping your slates in line at the side of the rooflight is to install a runner batten and this will help you to keep a straight line with your slates and soakers.
A simple method for cutting your slates is to flip them upside down, hold them tight against the runner batten and mark the slate 3mm from the corresponding slate next to it. Do this at the top and the bottom of the slate. Marking and cutting your slates on the rear will leave a pleasing front edge when finally trimmed.
Use a straight edge to join the two marks together and now cut the slate from the back side. Any additional holes in the slate should also be punctured through the back. Place the slates tight up against the runner battens while nailing.
The standard, soakers can now be installed. They should be laid with the smallest part of the tapered band at the top of the slate. Once again, the soakers should be installed with copper nails. Repeat this process until you have reached the top of the window frame on both sides.
Step nine – Installing the top flashing
In preparation for the top flashing to be installed, the felt has been turned over to create a trough. In other scenarios, the weathering strip may need to drape down over the rear flushing.
A simple method to smooth out the marks in the rear flashing is to hold your fingers on the raised points and bend the flashing. Finish the process with a flat dresser around the outer edges.
Next, trim the guide to cut only line ensuring that the corner areas rounded. This is important as it will make bossing the corners easier at a later stage.
With the top flashing trimmed it can now be placed onto the roof.
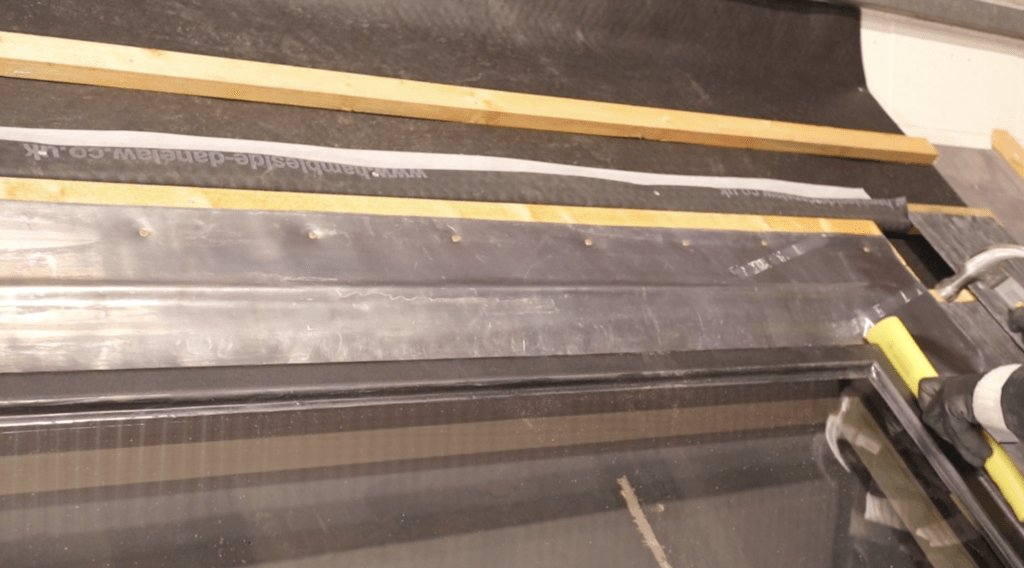
The top flashing can now be installed, ensuring the flashing will cover the rear of the rooflight frame correctly. Dress The lead neatly around the tilt which was previously installed. Now the bossing and dressing can be carried out at the rear of the rooflight, taking a special care to boss carefully around the rear corners.

Step ten – Finishing the slates above the rooflights
Now that the rear flashing has been installed the final slates can be cut. Carefully mark the slates and remember to transfer the marks onto the rear so that the slate can be cut from behind. Once the L-shaped slates has been cut, then a series of smaller slates will need to be cut and fitted next to those.
Slating around the rooflight is now complete and you can resume normal slating above this area.

